In part 1 and part 2 of this series, I've looked at the different ways of getting more out of your Azure Workbooks on the visual and data side. The last thing I want to talk about is the Development and DevOps flows of the workbooks, which I find somewhat lacking at the moment.
Editing the workbooks
As you might already know, the editing happens mostly on the Azure portal. This can be both a good and a bad thing, depending on the situation. There's basically no way of editing them locally in a user friendly manner, and you always require both access to the Azure portal as well as the data you're creating the workbooks against.
The documentation for how to do things in either code or the portal was not quite there when I first started working on these, but now it's getting to be pretty decent in giving you some idea on what you could be doing with Workbooks.
The portal experience hides a lot of functionality behind a ton of menus and small buttons that do not always make it obvious what one can find by clicking on them. So in other words, every aspect of the editing has some learning curve to it. In any case, the portal is the way to go.
I'd recommend having at least two different environments for your workbooks, just like your application code probably has more than just production. Especially as you're editing things directly on the resource, it's quite easy to mess things up otherwise.
Once you're happy with your changes, the question is how do you actually move things between environments? Let's say that we have no automation set up yet, so you'd have to do it manually, somehow.
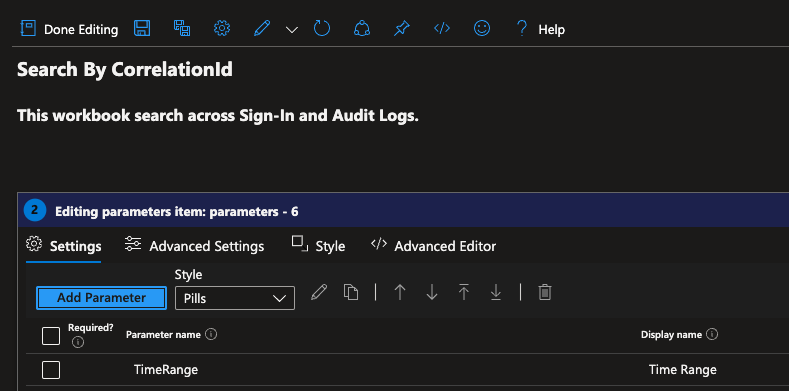
Thankfully, you can export the whole workbook as either a Gallery Template or ARM Template. The feature is hidden behind a button in the Edit mode.
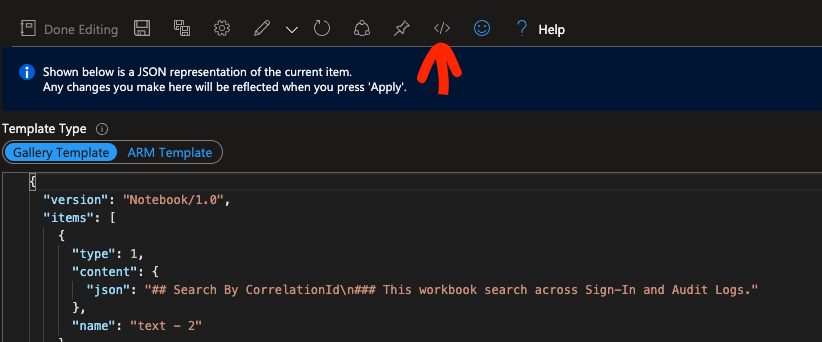
As many people have moved from ARM templates to Bicep templates, I'd recommend saving the Gallery Template into a file in your repository somewhere. While you can decompile the ARM to Bicep too, I think having the code of the workbook inside the template directly makes it very hard to read in the larger scheme of your deployment.
At the same time as you move your code to a repository, you can also just Copy and Paste the same code to your other environments by going to the same view on those and clicking "Apply". As we don't yet have any automation set up, this can be done manually for now.
DevOps flow
Now that you've seen how to get the code, let's think about the automation part. You can decide whether or not you want the dashboards to have the same or separate lifecycle as your application infrastructure / code. Any decision is fine, but I'd recommend having the dashboards (and maybe alerts too) as a separate entity, in some other resource group.
We've also saved the contents of the Workbook (the Gallery Template) to the repo separate from our Infrastructure as Code, so the next thing would be then to import the files during the IaC build / release process.
Azure Workbooks support ARM endpoints like most other Azure resources do, so the lifecycle management is not any different in that perspective. Here are a couple of ways of doing it in Bicep and Terraform.
param appInsightsResourceId string
param logAnalyticsResourceId string
var location = 'westeurope'

resource myWorkbook 'Microsoft.Insights/workbooks@2022-04-01' = {
  name: guid('myWorkbook', resourceGroup().id)
  location: location
  properties: {
    category: 'workbook'
    displayName: 'My Awesome Workbook'
    serializedData: replace(loadTextContent(('workbooks/myWorkbook.json')), 'APPINSIGHTSPLACEHOLDER', appInsightsResourceId)
    sourceId: lower(logAnalyticsResourceId)
  }
}
Terraform:
resource "random_uuid" "my_workbook" {
}

resource "azurerm_application_insights_workbook" "my_workbook" {
  name                = random_uuid.my_workbook.result
  location            = azurerm_resource_group.rg.location
  resource_group_name = azurerm_resource_group.rg.name
  display_name        = "My Awesome Workbook"
  source_id           = lower(azurerm_log_analytics_workspace.loganalytics.id)
  category            = "workbook"
  data_json           = jsonencode(templatefile("${path.module}/workbooks/myWorkbook.json", { app_insights_name = azurerm_application_insights.appinsights.name }))
}
Here are links to the docs for Bicep, and Terraform resources.
Do note that you might need to set some resource Ids as templated values here. With terraform I've done this using templatefile(), whereas with Bicep you might first need to load the JSON content with loadJsonContent() or loadTextContent() and then replace a value inside the content with the replace() function before passing it in. This also means that you would either need to remember to specify the values to replace during your development in the Azure Portal, or make those changes later when you commit to the repo. I'd recommend keeping these replacements to a minimum.
The Workbook name always needs to be a GUID, but I think it only needs to be unique in the scope of the resource group you're deploying it into. (have not tested this though). There was also a requirement on the source_id being all lowercase, at least on terraform. Might as well add it to both.
You can then just run a Bicep deploy / Terraform apply against your environments like you'd normally do.
And that's it!
All in all, the devops flow is pretty simple, but there is always the expected step of copying the code manually from the Azure Portal to the repository and making the required replacement changes somewhere.
Hopefully you found these interesting. Happy coding!